In today's modern and ever-changing internet technology, you may need to upgrade your web host's PHP version especially if you are using WordPress or installing PLR blogs from PreMadeNiches.
You should consider upgrading your PHP version if you encounter the following issue:
1. No button to help you get past Step 1. This happens usually just after the authentication page.
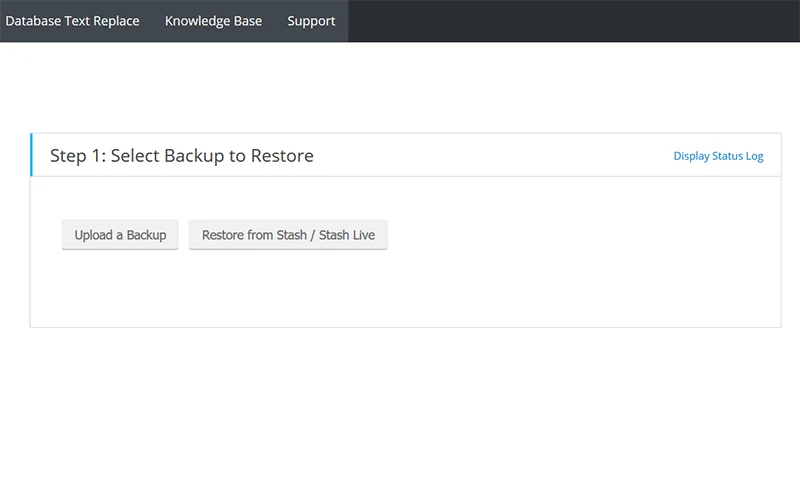
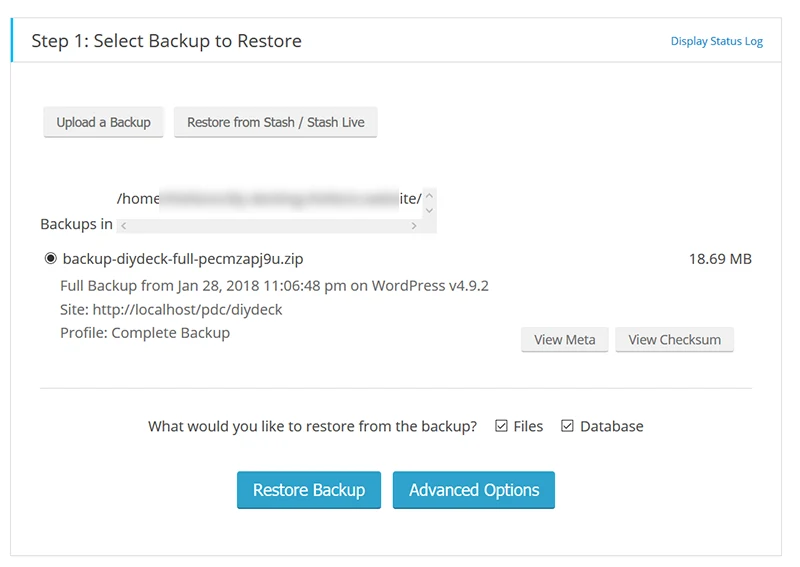
2. Blank page or white screen when running importbuddy.php. There's no field to enter importbuddy password.
Steps to Ugrading Your PHP Version
If you are on a webhost that uses cPanel to manage your files, then here's a step-by-step guide on how to upgrade your PHP to the newest version.
1 Login to your cPanel dashboard.
2 Find and click the "Select PHP Version" button/link. This is usually grouped under the "Software" box.
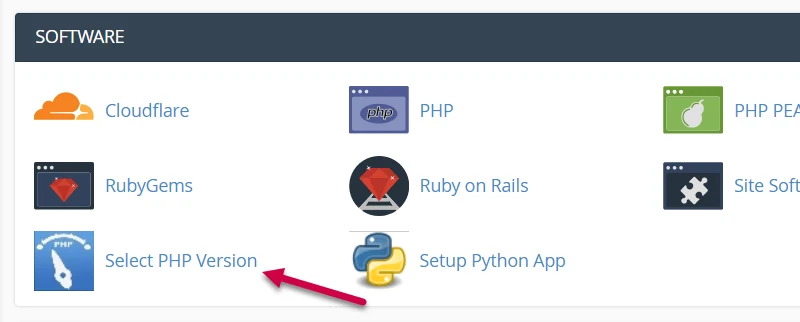
You'll get redirected to the PHP selector page.
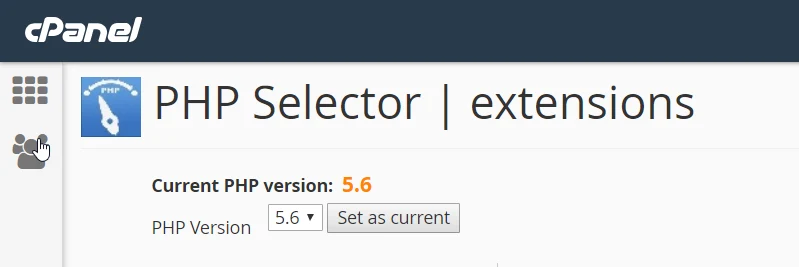
As you can see from the above screenshot, this one is currently set to version 5.6 which is almost obsolete. The latest version as of this writing is version 7.2
3 Click the inverted triangle to bring up the drop down menu then select the latest version.
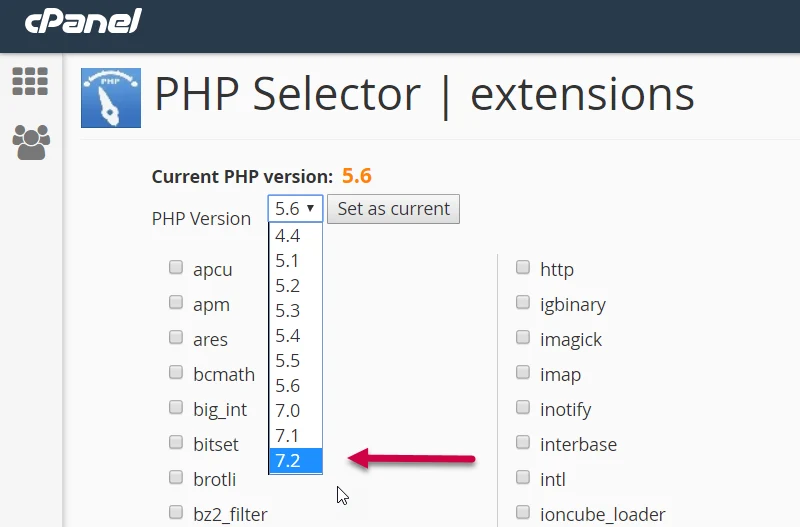
NOTE: If for some reason, there are software/scripts running on your server/webhost that is not yet compatible to PHP's latest version, try version 7.0 for the meantime.
4 Click the "Set as Current" button.
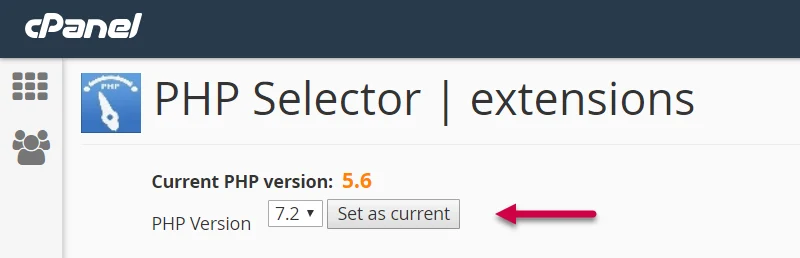
5 That's it!
Now, rerun the importbuddy script. You should now be able to proceed with the installation.
If this does not solve your installation issues, please get in touch with us through our contact form and we'll be more than glad to help you troubleshoot your problem.