There are times when after successfully installing a PLR blog package, you encounter a "404 Not Found" error or a "500 Internal Server Error" when trying to navigate to post, pages, or other parts of your new website.

Your front page looks great but when opening blog post or pages you will see this error with screen message like:
"The requested URL /your-post-url-here/ was not found on this server. Additionally, a 404 Not Found error was encountered while trying to use an ErrorDocument to handle the request."
and/or
"Internal Server Error
The server encountered an internal error or misconfiguration and was unable to complete your request.
Please contact the server administrator at webmaster@yoursite.com to inform them of the time this error occurred, and the actions you performed just before this error.
More information about this error may be available in the server error log.
Additionally, a 500 Internal Server Error error was encountered while trying to use an ErrorDocument to handle the request."
Sometimes, you won't see anything on the front page. It's just a plain blank white page and you scratch your head and begin to wonder WTH happened.
In most cases, this ugly "phenomenon" is caused by a blank htaccess or some webhost incompatibility with the installer script. This is also common when you are installing on a domain with an SSL certificate and your install URL starts with HTTPS.
Thankfully, this issue can be quickly solved. Here are a some options:
Option 1: Just log in to your WordPress dashboard then navigate to Settings => Permalinks.
Now at the "Permalinks Settings" page, without actually doing any changes, just scroll down and click the "Save Changes" button.
That's it. Check your post/pages. It should be working now.
Option 2: Go and manually edit your .htaccess file, delete everything that's in there then drop this basic WordPress code:
# BEGIN WordPress
<IfModule mod_rewrite.c>
RewriteEngine On
RewriteBase /
RewriteRule ^index.php$ - [L]
RewriteCond %{REQUEST_FILENAME} !-f
RewriteCond %{REQUEST_FILENAME} !-d
RewriteRule . /index.php [L]
</IfModule>
# END WordPress
That's all. Check your site's pages and posts to make sure it's working now.
For complete beginners, here's a step-by-step guide:
Option #1:
1 Log in to your WordPress dashboard.
Please use the login info provided along with your blog package. For first-time WordPress users, here's a guide on how to log in to WordPress admin.
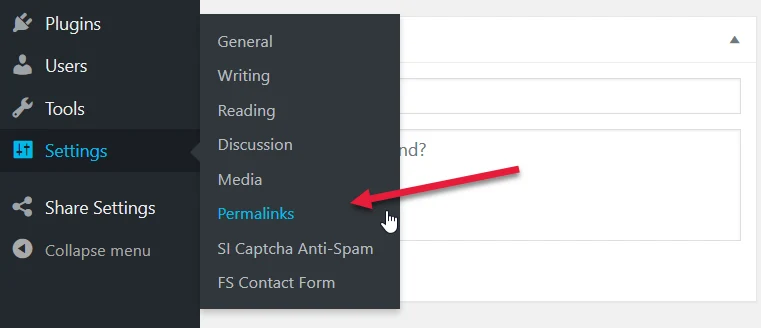
2 On your WordPress dashboard, navigate to Settings => Permalinks.
Click "Permalinks".
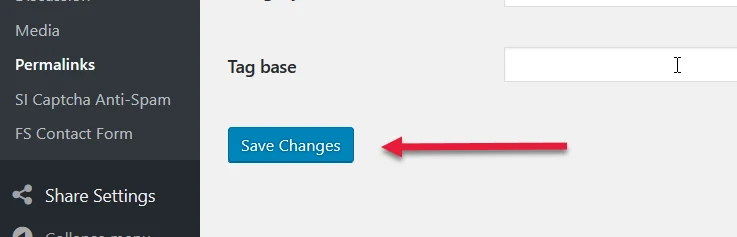
3 You'll be redirected to the "Permalinks Settings" page.
Scroll down then simply click the "Save Changes" button.
4 That's it!
Navigate to your post and pages. Those parts of your website should be loading happily by now.
Option #2:
For some webhost where option #1 may not work right off the bat, or you can't log in via /wp-admin, try option #2.
1 Log in to your cPanel or webhost interface.
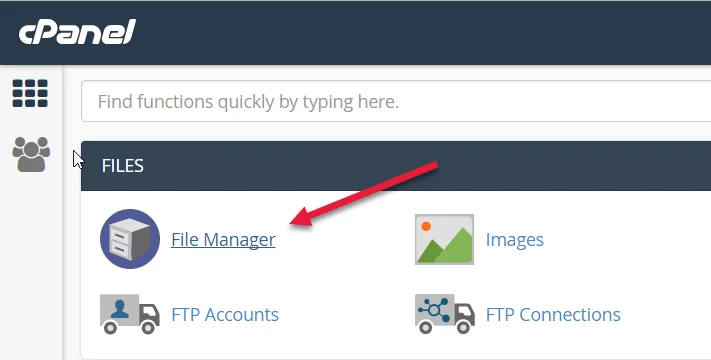
2 Go to "File Manager".
Find the "File Manager" icon on your cPanel dashboard. Click it. A new tab called the file manager page will open.
3 On the file manager page, find the .htaccess file.
It's located on the root directory of your domain.
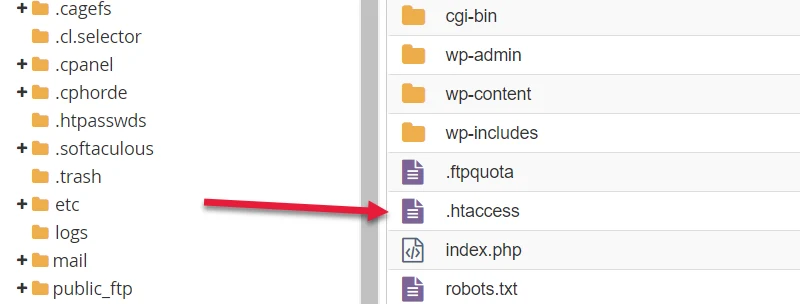
4 Highlight the .htaccess guy then click the "Edit" button.
The edit button is found on the cPanel navigation menu located just above the page.

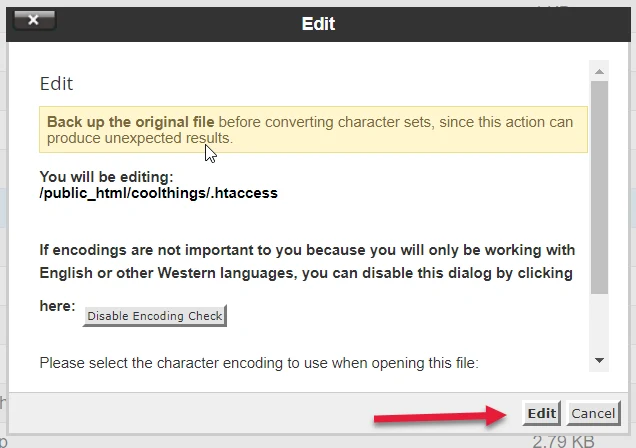
5 On the popup window, just click Edit.
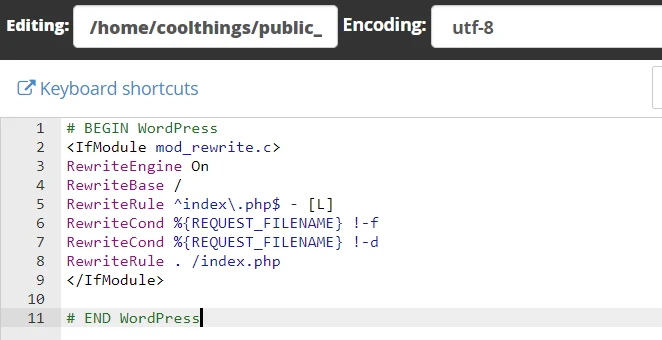
6 Delete everything that's in there then copy and paste this default WP code.
# BEGIN WordPress
<IfModule mod_rewrite.c>
RewriteEngine On
RewriteBase /
RewriteRule ^index.php$ - [L]
RewriteCond %{REQUEST_FILENAME} !-f
RewriteCond %{REQUEST_FILENAME} !-d
RewriteRule . /index.php [L]
</IfModule>
# END WordPress
Here's how it actually appear on your .htaccess:
7 Click the "Save Changes" button in the upper right-hand corner when done.
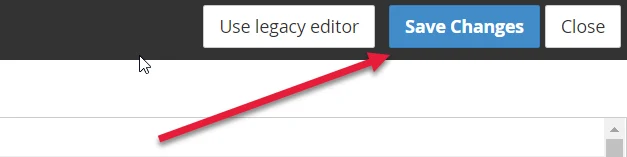
8 That's it. Test your post and pages.
If for some reason both options don't work, please don't hesitate to contact us here.
This guide was created using the cPanel interface so if you're hosted with non-cpanel webhosts, you might have different interface look and design. However, you should still be able to follow the above guide analogically as long as you have access to your webhost server that has a file manager tool and you are allowed to edit files in it.