Here's an easier and quicker way of installing your ready-made blogs without having to upload the backup files to your cPanel. This method requires a pre-installed WordPress site, though.

You can install it on a freshly installed WP site or even on an old one that you want to replace.
Be warned, though, that this method will replace your existing WordPress site. In addition, the import process will overwrite your website, including the database, media, plugins, and themes.
So it's not advisable to do this on an existing site with content that you don't want to lose.
This method is excellent for:
- Any webhost and domain as long as WordPress is already installed.
- Webhosts that offer a one-click install for WordPress.
- Replacing an existing WP site or even an old one.
Watch Short Video
NOTE: During installation, you see a screen message saying "the file is too large," download and install the Migration File Extension here.
Part 1: Install the All-in-One WP Migration Plugin
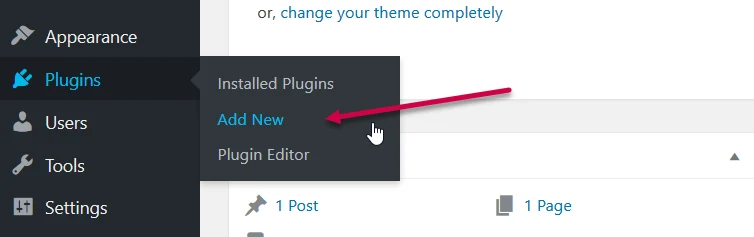
1 On your WordPress dashboard, hover your mouse over the Plugins menu, then click "Add New."
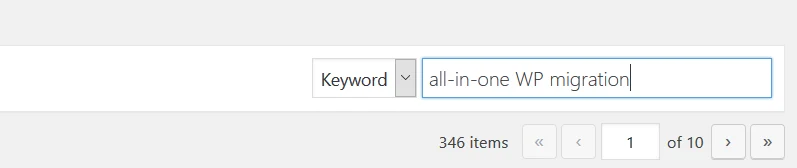
2 Type, "all-in-one WP migration" on the search box, then hit Enter on your keyboard.
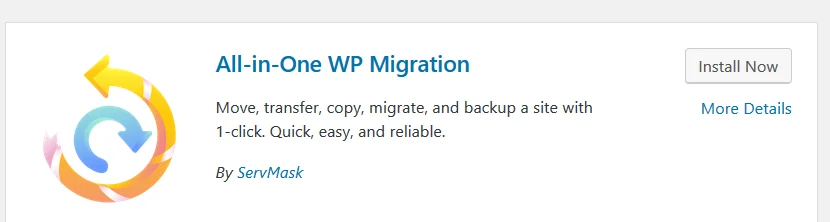
3 After page refresh, the All-in-One WP Migration plugin by ServMask should be on the first list.
4 Now, click the "Install" button.
5 Click the "Activate" button. The plugin is now installed.
Part 2: Import Files Using All-in-One WP Migration Plugin
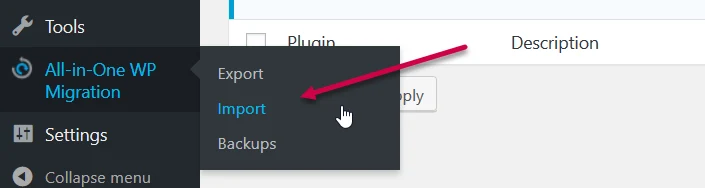
1 Hover your mouse over the All-in-One WP Migration menu, then click "Import".
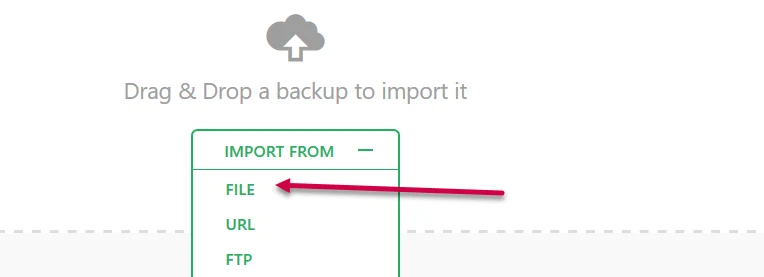
2 Click "Import From" then click "File".
3 Locate where you downloaded the PLR blog, then open the folder "All-in-One WP Migration File".
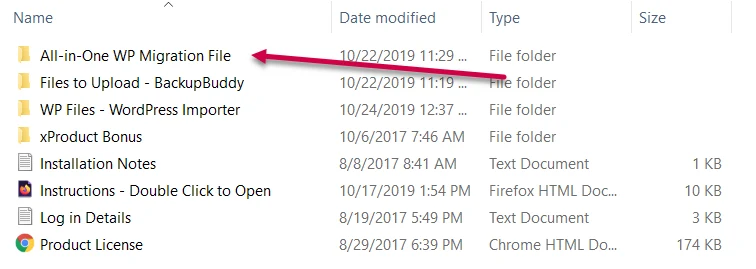
4 Select the file inside that folder and click "Open". This will now trigger the import.
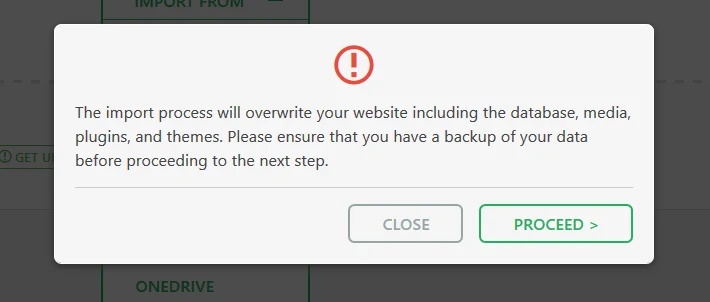
5 A warning box will pop up. Just click Proceed to continue.
6 Wait for the import process to be completed. You will be notified if the import was successful.
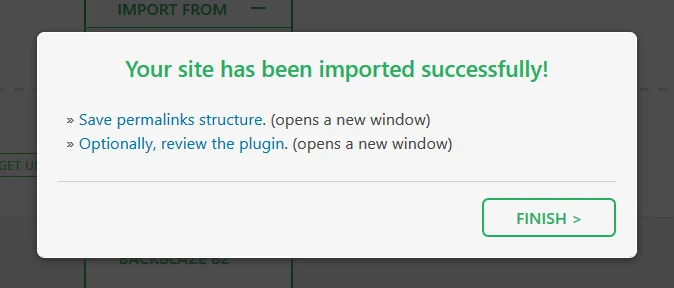
7 That's it! Check your new site. You need to re-login after a successful import.